
For my first post exploring digital methods in the classroom, I will introduce Voxel Art and how I have utilized this open-source tool in my classes. Voxel Art, using the program MagicaVoxel (https://ephtracy.github.io/), has a lively community online (https://www.reddit.com/r/VOXEL/) where digital artists create 3D scenes built from individual voxels. But what is a Voxel? What pixels are for 2D, voxels are for 3D, digital cubes that build the 3D image. The free program MagicaVoxel, gives the user a wide variety of tools in which to create detailed rendered images complete with shadows, textures, dynamic lighting, and reflections. While voxel art has not been widely used in an educational setting, MagicaVoxel provides a user-friendly platform in which students can engage creatively with historical architecture.
Ottoman Voxels
I use MagicaVoxel in a survey class I teach on the history of the Ottoman Empire at Central Connecticut State University. I introduce the program in our unit on Ottoman architecture and the sixteenth-century designs of the architect Mimar Sinan. For this activity, students recreate Ottoman mosque complexes (Külliye) using MagicaVoxel. I split the students into groups and give each group one of the mosque complexes of Mimar Sinan, such as Süleymaniye, Haseki Sultan, and the Sokollu Mehmed complexes. Each group is given the corresponding reading related to their mosque complex from Gulrü Necipoğlu’s The Age of Sinan (http://www.reaktionbooks.co.uk/display.asp?ISB=9781861892539&sf1=facet&st1=BOOK&sf2=auth%5Ftitle&st2=NECIPOLUGUAGEOFSINA%2A&sort=sort%5Ftitle&m=2&dc=2), which includes architectural diagrams and sketch depictions of each set of buildings.
From this point, each student is given one building within their group’s mosque complex which they are tasked with recreating in MagicaVoxel. The group is told to decide on a standard voxel size of their buildings so that they can combine the files at the end of the assignment to bring together the entire complex. I then ask students to write a short description of the mosque complex they worked on and provide an explanation of the social functions of all the buildings. I have found that this sort of creative assignment can help students engage with Ottoman architecture and the mosque complex’s place in Ottoman urban spaces in a deeper way. It leads students to question and reflect on the function of different rooms and spaces in these structures which they have crafted together through voxels. To help you develop a similar project for one of your courses or to take the idea in a different direction, I have compiled this basic guideline to walk you through using MagicaVoxel.
Brief Introduction to Using MagicaVoxel
Open the Magicavoxel application which can be downloaded here (https://ephtracy.github.io/).
To start off, change the model size in the top right of the screen to a larger workspace – either to 100 x 100 x 50, or to 250 x 250 x 100. This depends on how large you wish to make your structure. As a rule of thumb, I suggest you make each story of your buildings equivalent to 10 voxels. This sizing generally gives you a good amount to work with for your proportions.
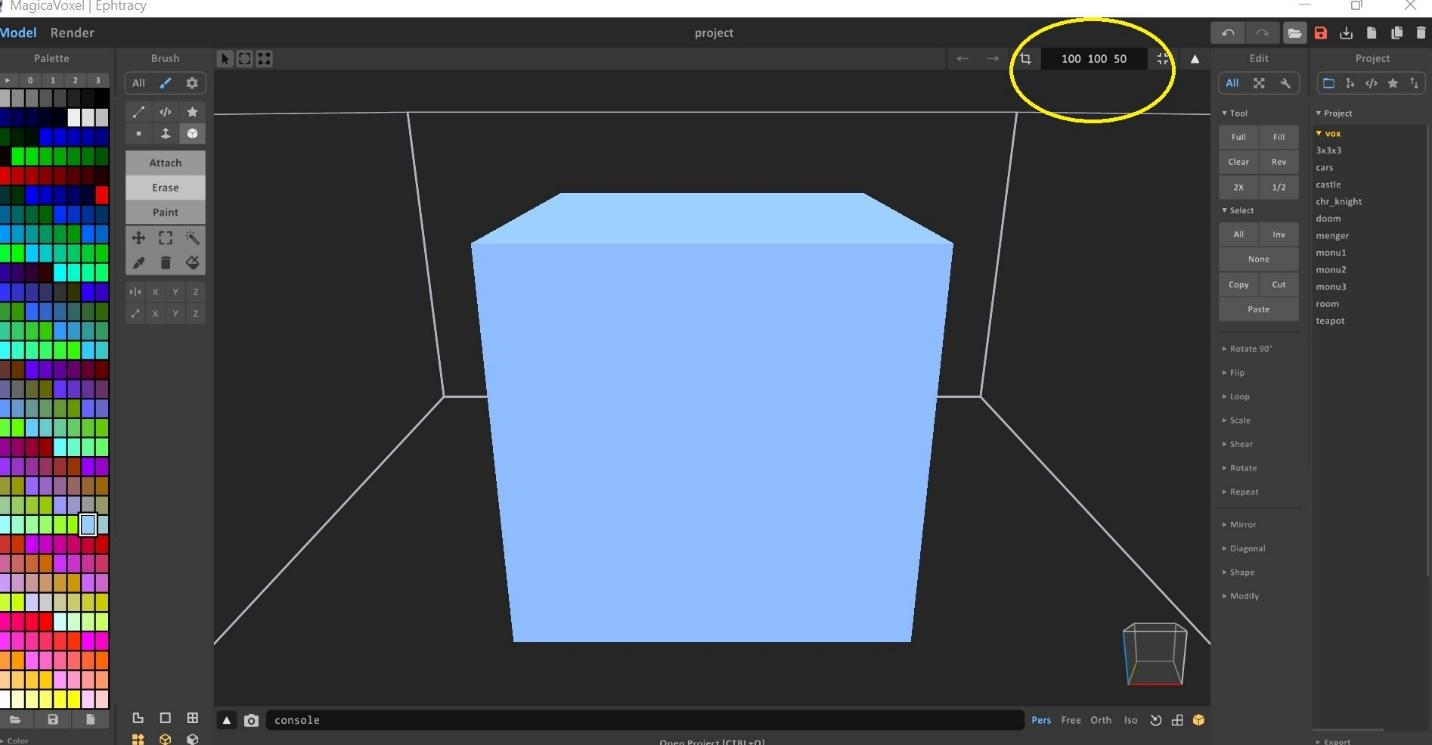
Use the erase tool and drag your mouse over the whole base square to start with a clear box.

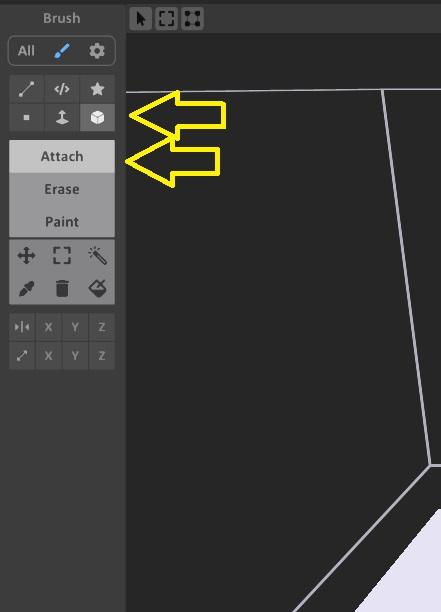
Then use the ‘attach voxels’ tool and ‘box mode’ to start building your structure.
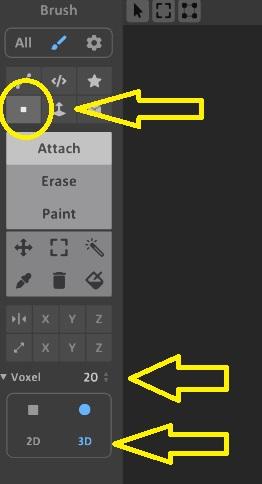
You may also choose to switch from ‘box mode’ to ‘voxel mode’ while adjusting the ‘voxel size’ with a number between 1-64, giving you the possibility to make large square or circular 3D or 2D objects by utilizing the shape buttons below the ‘voxel size.’ This is a useful tool to make the squared-out section of your building, and especially for adding domes. Using this not on ‘Attach’ but with ‘Erase’ is a useful method to clear out squares or add concave features in your structure.
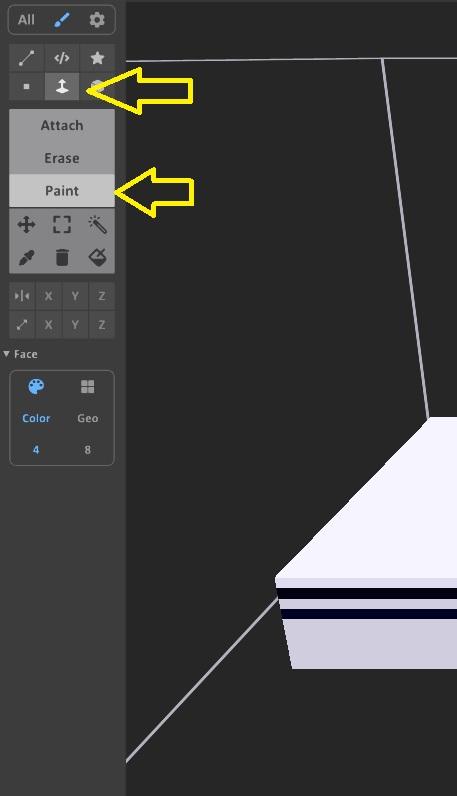
You can change the color on a whole layer on one side with the ‘paint voxels’ tool and the ‘face mode.’
As you build, you hold right-click on your mouse to rotate around your structure, you can also change your view from the ‘Perspective Camera’ to the ‘Freestyle Camera’ mode on the bottom right of the main window.
You can use the ‘WASD’ keys to move the camera and zoom in. And if you want to move the camera freely you can use ‘Space + WASD.’
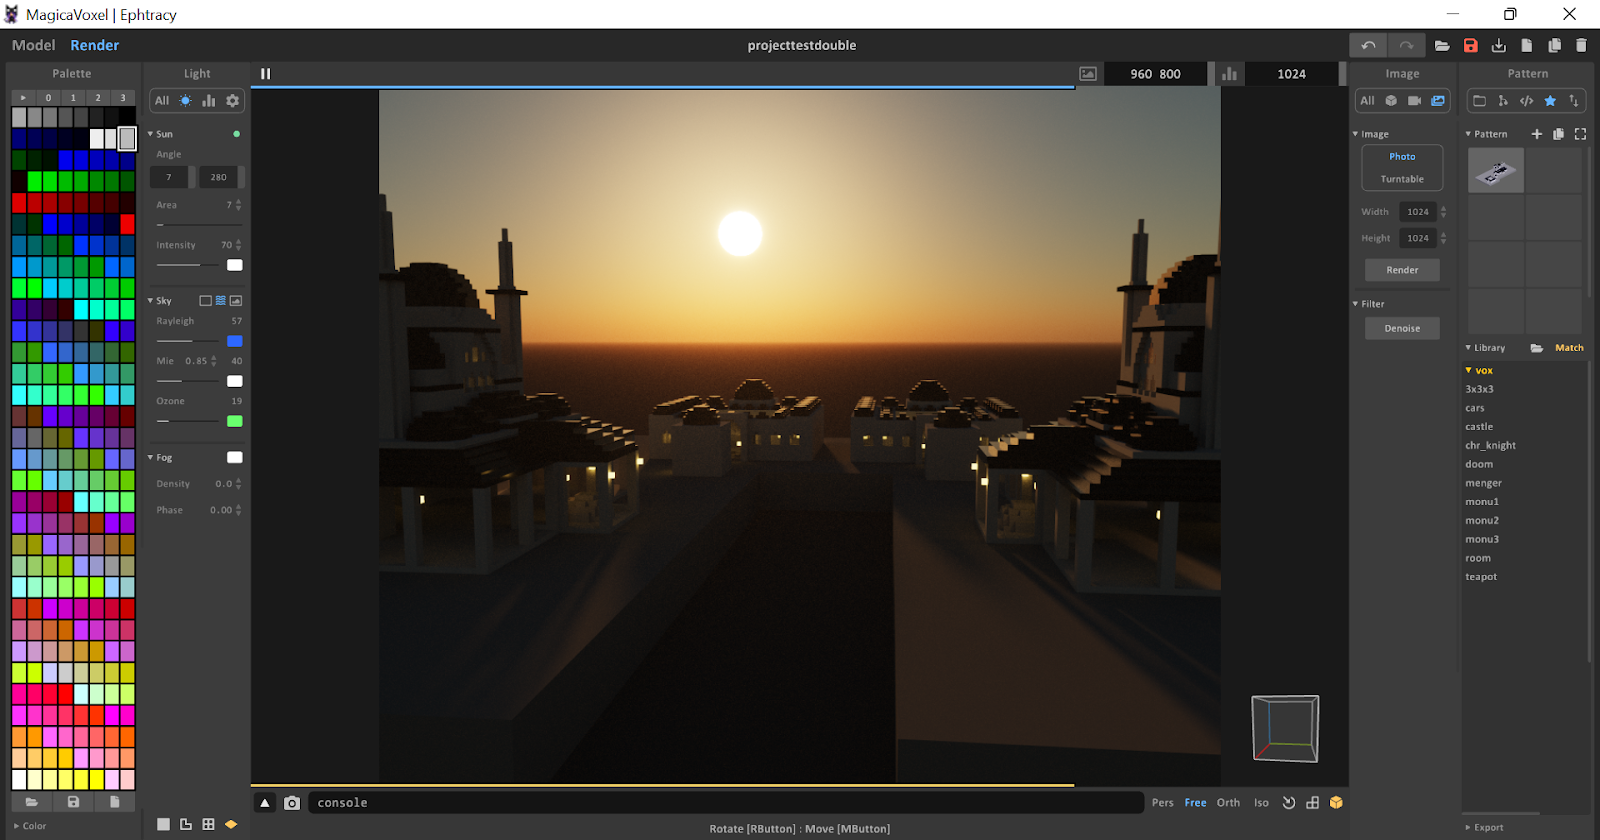
Once you have shaped the structure you wish to build, you can start adding light to your image and begin to render it. To add light and render your image – switch to the Render tab on the top left and under ‘light’ you can adjust the angle of the sun on your structure and its intensity, along with other options like fog which darkens areas further without light.
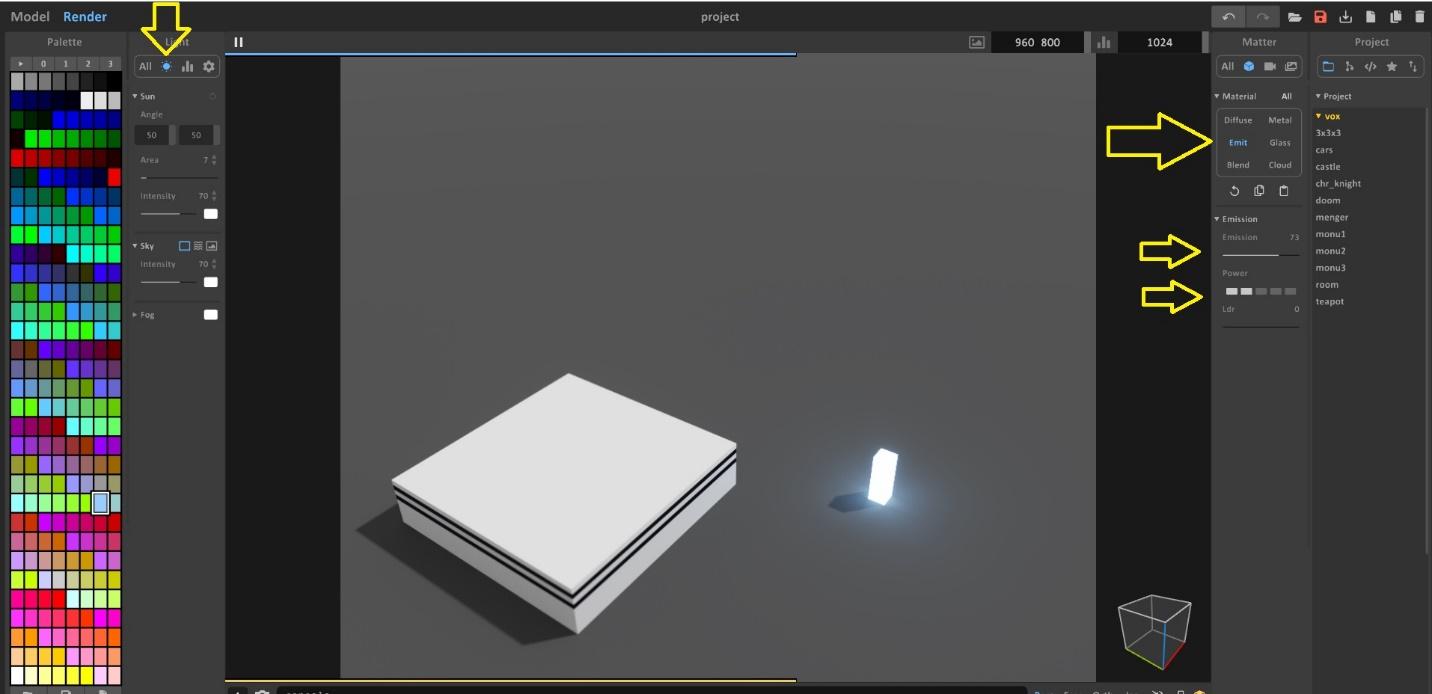
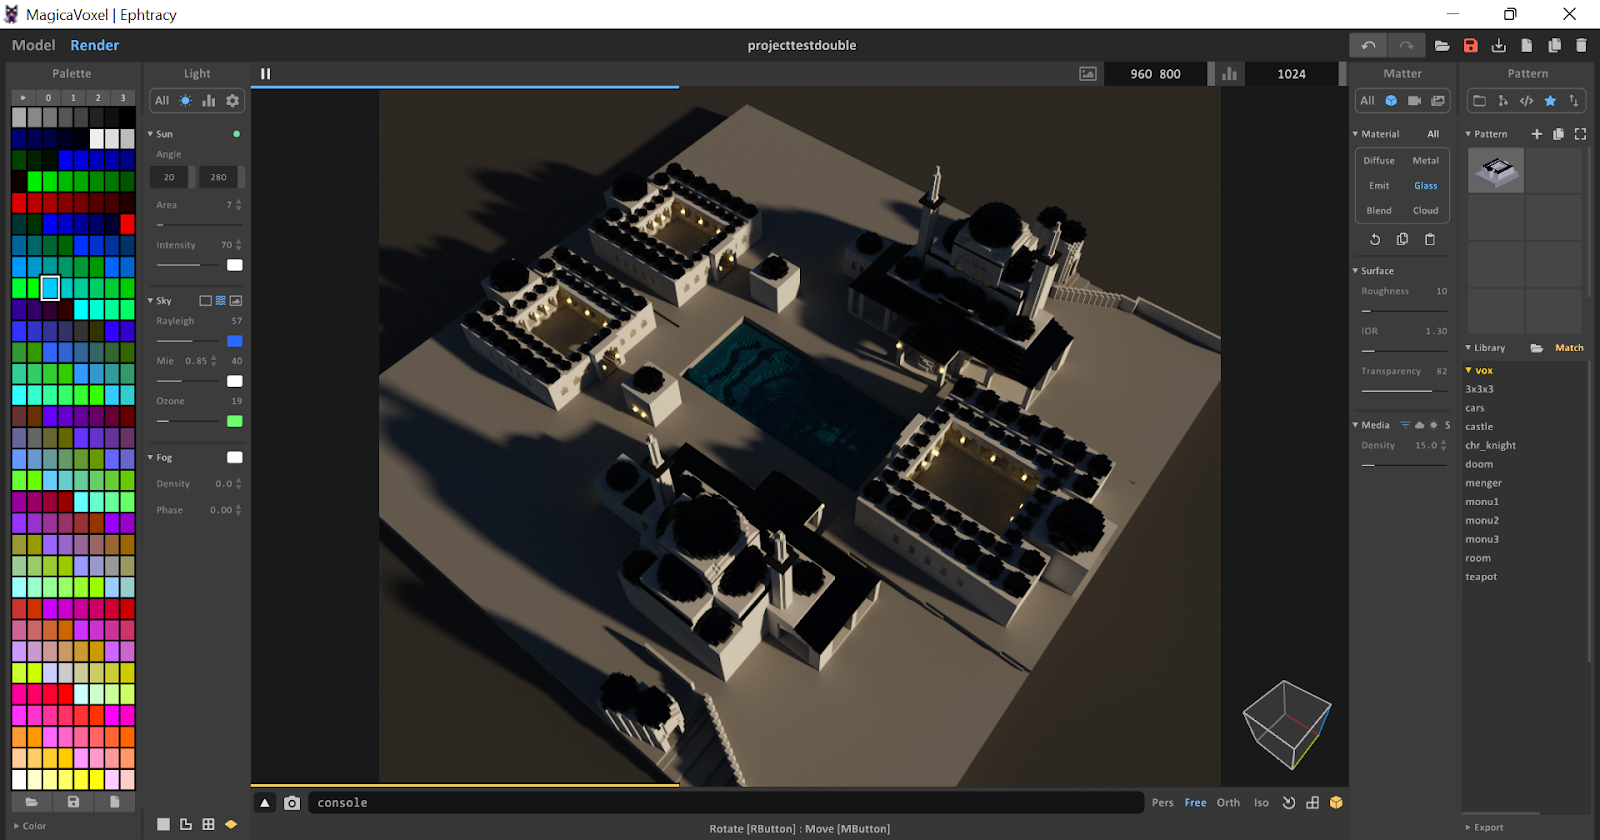
On the right-hand side of the page in ‘Render,’ you will see the ‘Matter’ tab – here you can change the materiality of different sections of your structure like metal, glass, cloud, etc. You must first hold ‘alt’ and click on the part of your voxel project you wish to change for this, it will do this for all voxels of that same color – keep this in mind when you are choosing which colors you wish to include for your structure. With the ‘Emit’ tab here, you can adjust how much light is emitted by a section of your structure; if you want to add lighting or torches, you can change the power of this light with the emission slider and the power tab. For this effect, I add a yellow or orange voxel in different sections of my structure to act as lamps and then make that color emit in the ‘Matter’ tab.
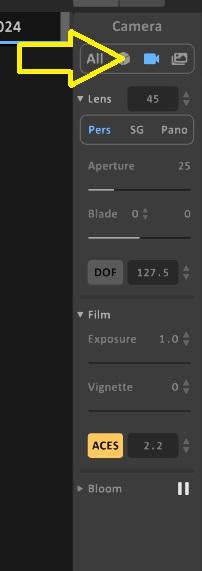
You can also make your light pop more if you turn on ‘bloom’ in the ‘camera’ tab in Render.
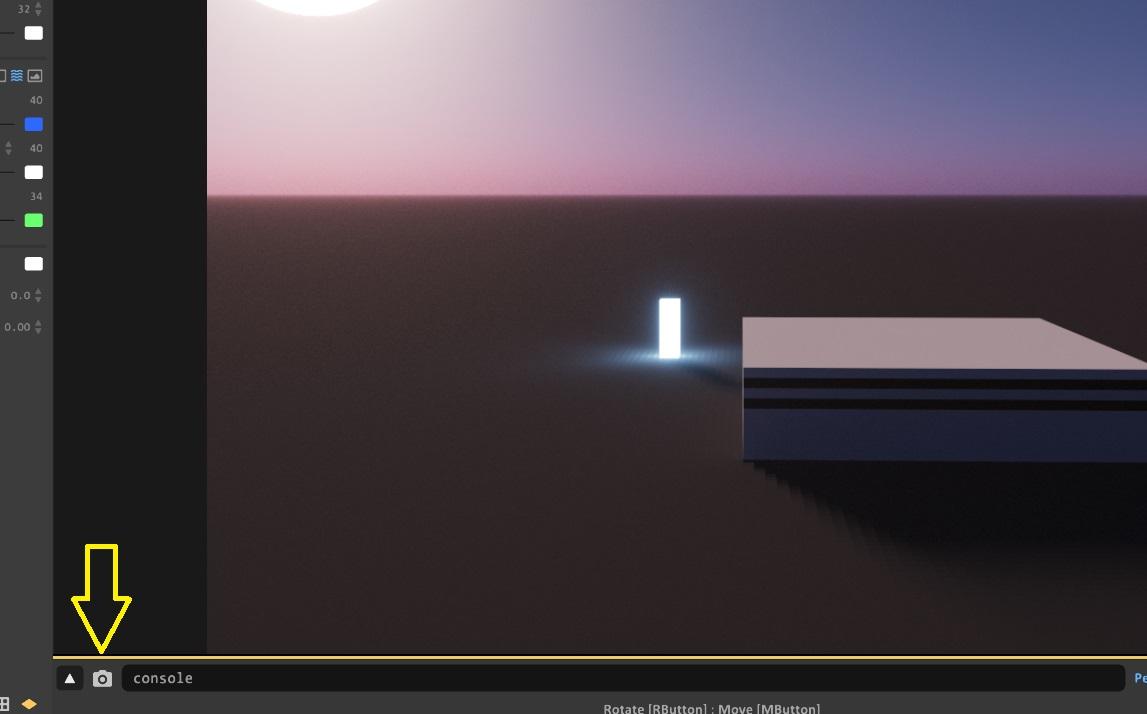
To save your rendered image from the perspective you have chosen, wait for the image to render and then click the ‘capture image’ button on the bottom left of the screen (it looks like a camera) to save the image. You can also click the ‘image settings’ tab in Render, (it looks like a series of photos) and click ‘render’ under that tab, which will prompt you to save the rendered image.
For the process of merging files together, first save your file with the red save button in the top right corner of the screen. Then follow this video explainer (https://www.youtube.com/watch?v=PU1noMv5Pw8) on how to import and export the palette (if it did not import correctly) and matter into the same file. If you are simply merging images or buildings from the same system, you can select your whole project or a single structure in your project and copy it, making it a brush to add into your project. To do this, in the far-right tab, click on ‘Pattern’ and then after selecting your image click ‘Create Reference Patterns.’ Then with your pattern selected, click ‘Attach,’ in the ‘Model’ tab, to add the structure to your image.
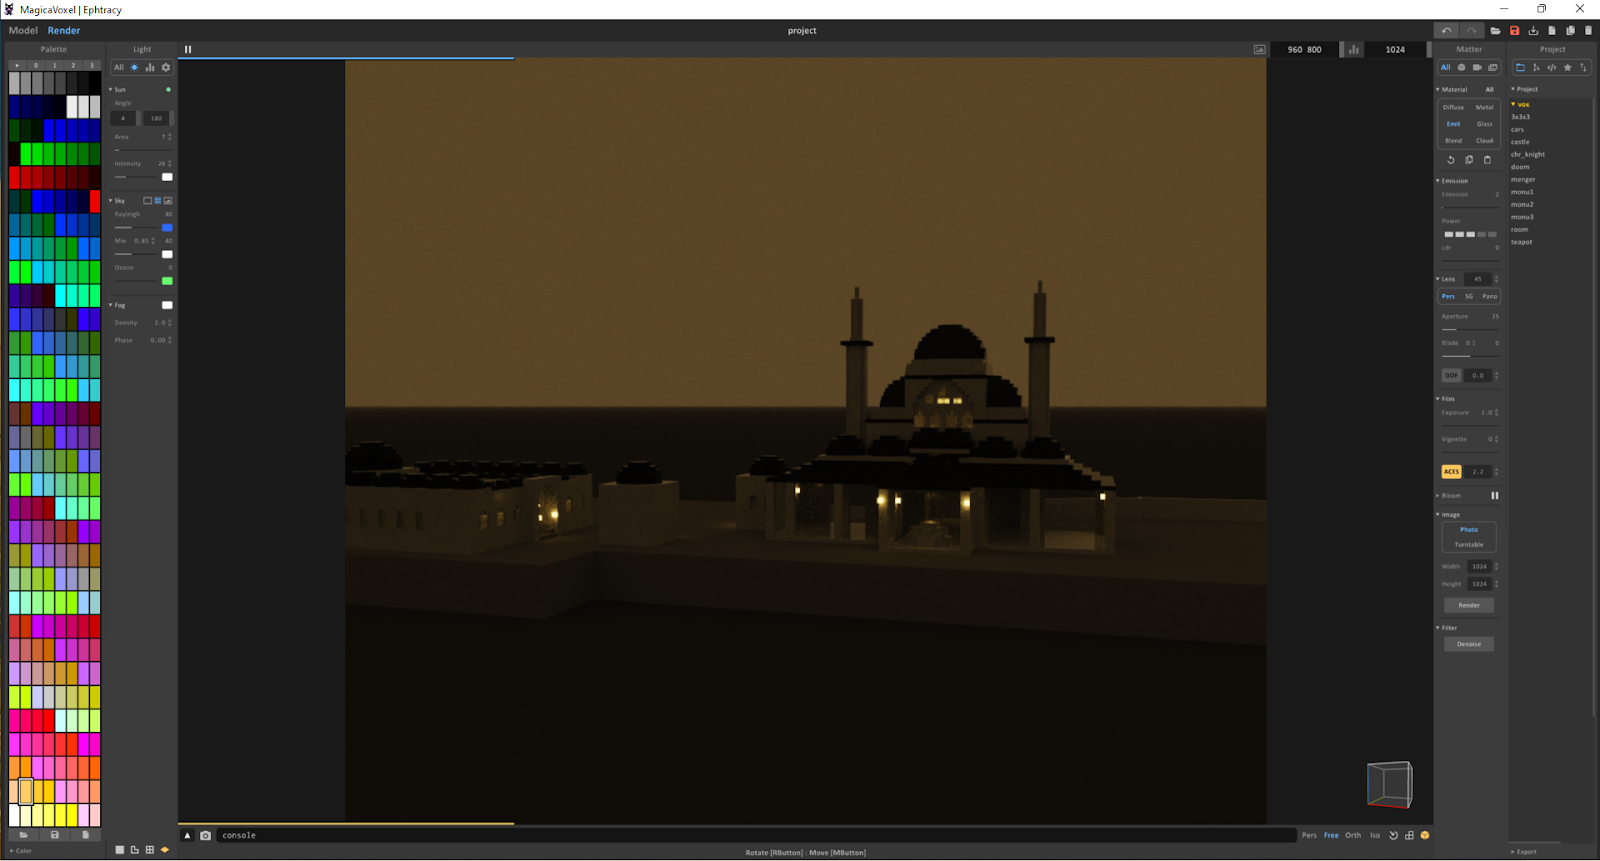
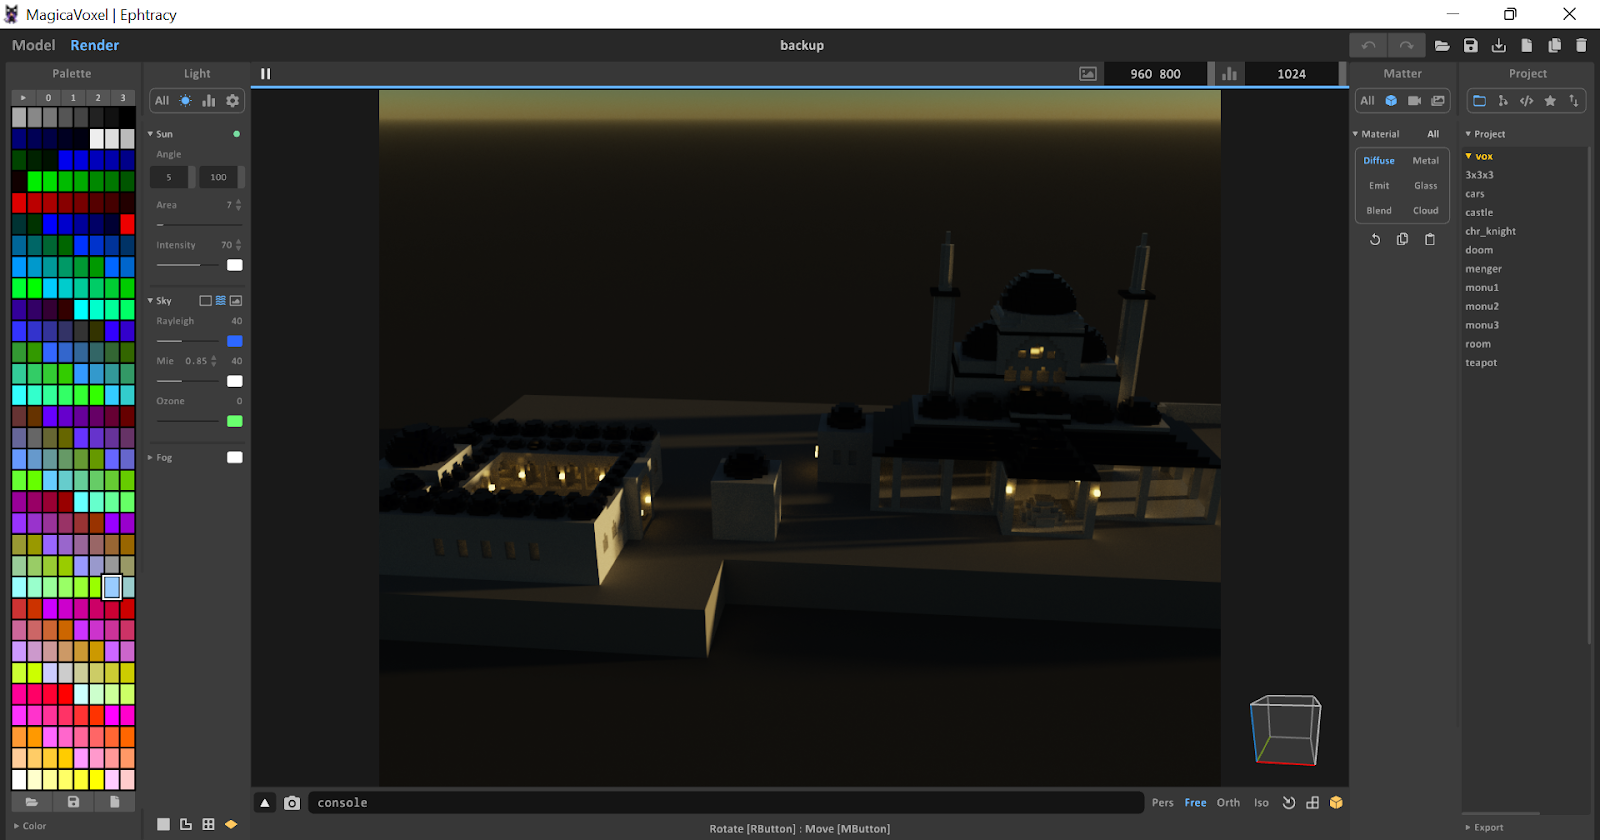
You can see some examples of this below, where I copied sections of the original mosque complex I was building and added the copied buildings throughout.
Conclusion
MagixaVoxel provides an excellent tool in which students can engage with historical architecture. It helps them both to conceptualize urban spaces and ask questions about the functionality of those structures, which in this case made up the Ottoman world. This assignment can be highly applicable to any field of history and took the large part of two sessions for my students, though one could limit it to one session and have the students complete their project at home on their own computers.
One thought on “Voxel Art in the Classroom”